

Inspecting HTML with Browser DevTools
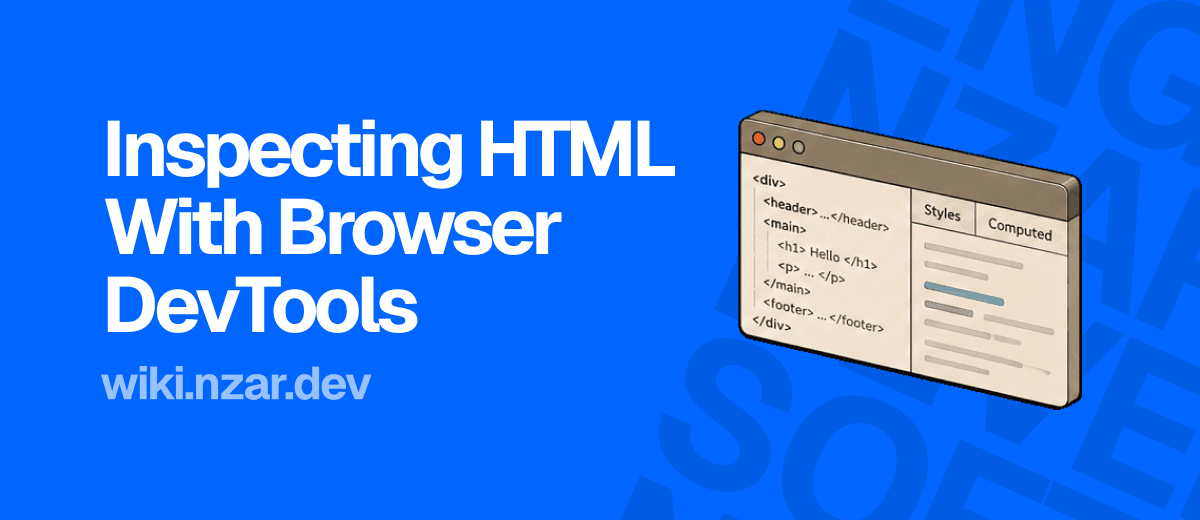
Something on your page looks wrong, an element in the wrong spot, text the wrong size, a button that isn't lining up. Staring at your source file, everything looks correct. So what's actually happening?
This is exactly the moment to stop guessing and go look directly at what the browser actually built. Every browser ships with a set of tools, usually called DevTools, that let you see the real, live DOM sitting behind your page, the same DOM from the browsers article back in the Foundation chapter, not just the file you wrote.
Not Just for Finding Bugs
It's easy to think of DevTools purely as a debugging tool, something you open only when something's broken. It's actually closer to a live window into everything the browsers article described happening under the hood, the DOM, the render tree, the actual computed layout, all sitting right there, inspectable at any time, not just when something's gone wrong.
Getting comfortable here early means the rest of this wiki, CSS, JavaScript, frameworks, all becomes far easier to debug, because you'll already know how to actually look at what's really happening instead of guessing from the source code alone.
Opening DevTools and the Elements Panel
Right-click almost anything on a webpage and choose "Inspect," or press F12 in most browsers, and DevTools opens, usually defaulting to the Elements panel (called "Inspector" in some browsers). This shows you the live DOM tree, the exact same nested structure the browser built while parsing your HTML, fully expandable, exactly like the tree we described conceptually back in the browsers article.
Click on any element in this panel, and the browser highlights exactly where it sits on the actual rendered page. Click on any visible part of the page itself, using the little cursor icon in DevTools, and it jumps straight to that element in the tree. This back-and-forth is often the fastest way to figure out exactly which piece of HTML you're actually looking at.
View Source vs Inspect Element: A Crucial Difference
Here's a distinction that trips up a lot of people early on, and it's worth getting straight immediately. "View Page Source" shows you the original HTML file exactly as it arrived from the server, untouched. The Elements panel shows you the current DOM, which might have already been changed by JavaScript since the page loaded.
If a script adds a new element, updates some text, or removes something entirely after the page loads, "View Source" won't show any of that, it's frozen at the moment the page first arrived. The Elements panel always reflects reality, right now, including anything JavaScript has changed since. Once you start working with JavaScript later in this wiki, this becomes an essential distinction: if you're confused why the "source" doesn't match what you're seeing, you're very likely looking at the original file instead of the live, current DOM.
Editing HTML Live
One of the most useful features in the Elements panel is that it's fully editable. Double-click any text, any attribute, even the tag name itself, and change it, right there, live, on the actual running page.
Double-click this title "Editing HTML Live" text -> change it -> press EnterThe page updates instantly. None of this saves anywhere, refresh the page and it's gone, which is exactly what makes it so useful for quick experimentation. Wondering what a layout would look like with a different class, or whether removing one element fixes a visual bug? Try it directly in DevTools first, before touching your actual code at all.
The Accessibility Panel
Following directly from the last article, most browsers' DevTools include a dedicated accessibility panel, showing you the actual accessibility tree, the same one screen readers read from, not just the visual DOM. Select any element, and you can see its computed role, its accessible name, and where that name actually came from, a label, an aria-label, alt text, or nothing at all.
This turns accessibility from something you hope you got right into something you can actually verify directly. Built a custom button? Check its computed role here. Wrote alt text for an image? Confirm it's actually being picked up correctly, instead of assuming.
Using the Device Toolbar
Every major browser's DevTools includes a device toolbar, usually a small icon that looks like a phone and tablet side by side, letting you preview your page at different screen sizes without needing an actual second device.
This connects directly back to two earlier articles in this part: the viewport meta tag from the very first article, and responsive images from the images article. Toggle the device toolbar, pick a phone-sized viewport, and you can immediately confirm whether your page actually behaves the way those earlier articles described, or whether something's quietly still assuming a full desktop screen.
A Quick Word on the Console
DevTools also includes a Console panel, which gets a full, proper treatment once we reach JavaScript later in this wiki. For now, one small trick worth knowing: whatever element you last selected in the Elements panel is available in the console as $0, letting you quickly check things about it without writing a full script. It's a small shortcut, but a genuinely handy one once you're comfortable with the basics here.
A Practical Habit: Is This Really an HTML Problem?
Here's a genuinely useful habit, connecting directly back to the systematic debugging process from the Foundation chapter. When something looks wrong on a page, inspect the actual element first, before touching any code. Is the HTML structure itself wrong, missing a wrapper, an element in the wrong place? Or is the HTML actually correct, and something in the CSS is just displaying it strangely?
This single check, looking directly at the live DOM before guessing, often answers that question in seconds, and tells you exactly which file you should actually be opening to fix it, instead of poking around in the wrong one first.
Why This Matters
DevTools turns "something looks wrong and I'm not sure why" into "let me go look at exactly what the browser actually built." That's a genuinely different, much faster way to work than guessing from your source files alone, and it's a skill that pays off for the rest of your career, not just while learning HTML.
This is also the moment the browsers article stops being purely conceptual. The DOM, the render tree, the accessibility tree, all of it, is right there, inspectable, editable, real. Getting comfortable poking around in here early makes every single chapter after this one easier to debug.
That also closes out this part. You now know how to structure a page properly, write markup that means what it says, build forms and tables people can actually use, make images and embedded content fast and accessible, and inspect all of it directly instead of guessing. That's a genuinely solid foundation, everything else in this wiki, CSS, JavaScript, frameworks, still ultimately renders down to the HTML you now know how to write and inspect.
Go Deeper
If you want to go beyond what these articles could cover and build a genuinely deep, lasting foundation in HTML, these two are worth owning:
HTML and CSS by Jon Duckett
A highly visual, beginner-friendly book covering both HTML and the CSS part coming up next, with clear diagrams and real examples throughout.
MDN's 'Learn HTML' section, free online
Written and maintained by the people who document the web platform itself, it's the most authoritative, consistently updated free reference for everything covered across this entire part, worth bookmarking and returning to for the rest of your career.
- "HTML and CSS: Design and Build Websites" by Jon Duckett. A highly visual, beginner-friendly book covering both HTML and the CSS part coming up next, with clear diagrams and real examples throughout. A great single resource bridging both parts of this chapter.
- MDN's "Learn HTML" section, free online. Written and maintained by the people who document the web platform itself, it's the most authoritative, consistently updated free reference for everything covered across this entire part, worth bookmarking and returning to for the rest of your career.